
Guest post by Julien Bazin
Introduction and Motivation
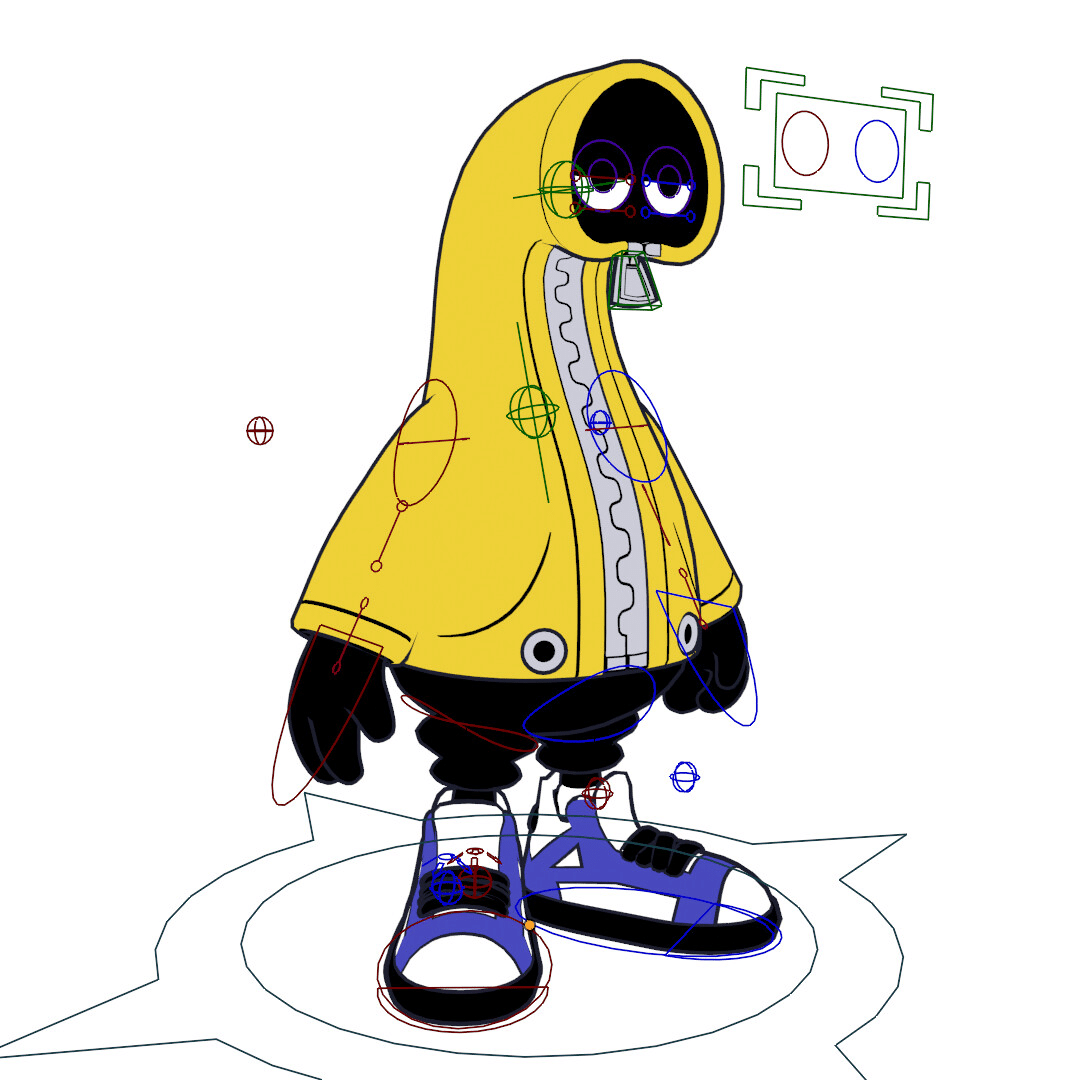
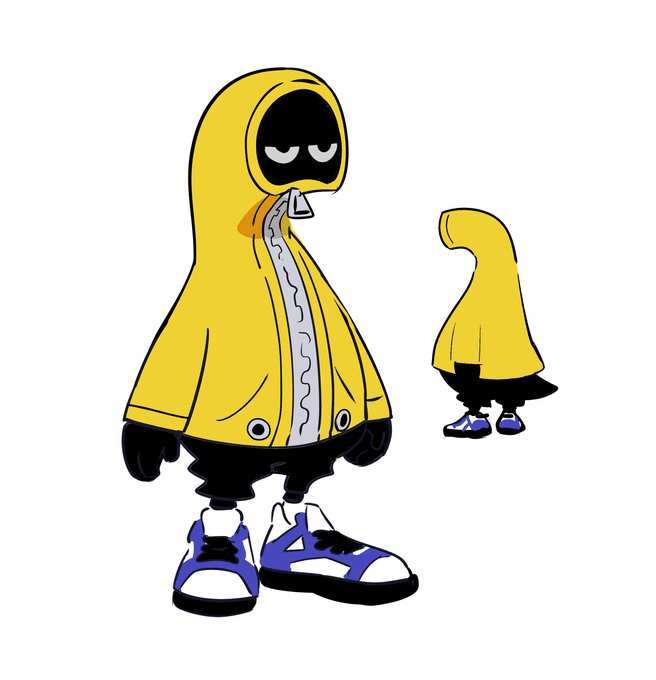
This project was a long time coming, but it was a very fun and educational experience. I learned a great deal about balancing creative ambition with technical challenges. It all started with a 2D character concept by Nelnal (@nelnalium on Twitter). Their style, featuring flat colors and highly stylized proportions, resonated with the kind of characters I wanted to focus on in my own work.
The first character I created based on their designs was this:
https://www.artstation.com/artwork/ZaORX8,
which was even reposted by Nelnal on Twitter!
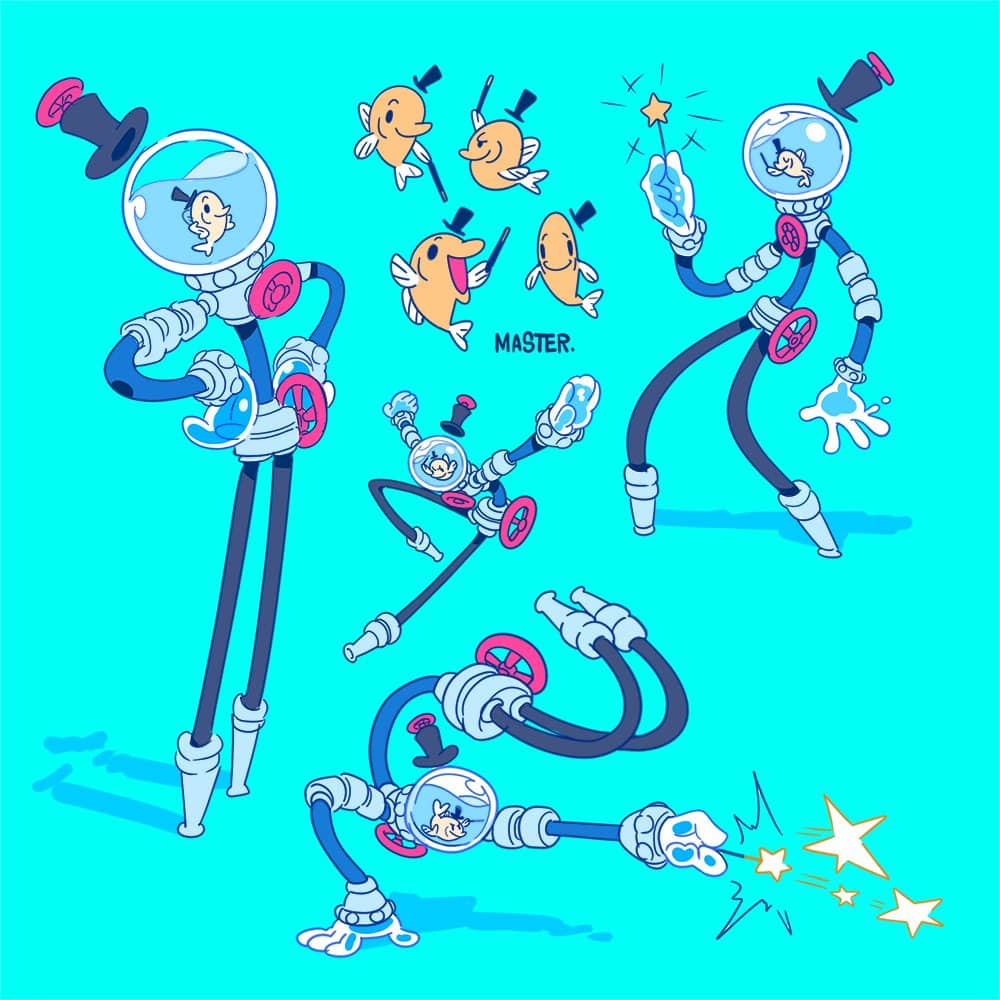
After completing that project, I decided to tackle something much more complex—Filibert the Fish. The goal was to recreate the reference image as closely as possible. In hindsight, this took more work than I expected, but despite the challenges, I’m proud of the final result.
Project Challenges and Goals
Recreating the reference image required a steep learning curve, especially in adapting the heavily NPR style to 3D. There were many holes in my rigging knowledge, so it took quite a bit more time than I initially expected. I will highlight these in more detail in the technical breakdown*. While the end product is a success overall, I’d like to find more time-efficient ways to approach similar projects in the future.
One of the key challenges was balancing fidelity with technical feasibility, as I wanted to be as accurate to the reference image as possible. I had to figure out how to achieve the various shapes and poses that both the fish and mech displayed in the reference, while retaining enough flexibility for an animator to feel comfortable when animating it. Additionally, I had to figure out how to organize and render the rig efficiently while making it easy to use for animators, something I had not done much of before on manually-created rigs. YouTube tutorials at 2x speed came really in handy here!
Technical Breakdown of the Rig
General Rig Setup
- The mech and fish rigs are separated for organization and performance reasons.
- The fish is not visible in the viewport when the water is active in rendered mode. To simplify animation previews, the water is made translucent in viewport shading mode.
Limb and Spine Setup
- All limbs and the spine use spline IK due to the rubber-hose nature of the character.
- Bones labeled “SPL” control the handles of the curve, which drive the spline IK chain for deformation.
- A standard FK/IK switch setup drives the entire system.
- “Follow” bones add automatic curvature control, enabling either a normal bent elbow or a full rubber-hose look. These are adjustable via custom properties labeled “_CURVE” in the Rig UI.
- *I had some experience creating spline IK in Maya, but here in Blender it works a little differently. I initially wanted to figure out how to create a spline IK twist, but as far as I know there is no way to create that by just using the curve. Thankfully the rig did not end up needing it as all the bendy sections do not need to twist.
Arm Links
- The arm links are controlled via a separate system using the spline IK curve as a base:
- A “Curve” modifier is applied to a subdivided plane, allowing it to follow the spline IK curve when it is deformed.
- Arm link bones use a “Copy Location” constraint to follow their respective vertex groups on the affected plane, achieving a sliding effect along the curve as the plane is moved.
- *The way to achieve it here is different from in Maya, where you use nHair follicles on the surface of a nurbs plane that follow as it deforms. You then make joints at each follicle, and make each follicle the parent of the joint so that you can then skin whatever you need. I tried to apply this same thought process to the blender version, but it took quite a bit of research on modifiers that I was unfamiliar with at the time and a lot of experimentation before I landed on something that worked.
Hose Effects
- All hoses use a “Cast” modifier with a locator to simulate a bubble effect, as though the hose is ballooning with water.
- A cylinder affects a “Vertex Weight Proximity” modifier on the arms, causing the bubble to shrink as the arm links pass over it.
- *This was an extra feature I came upon by accident while messing around with modifiers, and I realized I could limit the Cast modifier using the Vertex Weight Proximity modifier to create a sort of “live” weight group, and even dial in the amount I wanted it to affect the Cast through both the size of the cylinder and vertex weights.
Additional Features
- Limb foreshortening controls were partially implemented but remain limited. This was because lattices didn’t work as I expected on the limbs, so for the animation, lattices were only used on the hands for smear frames.
- Extra pivot bones allow for alternative IK control pivots. However, interpolation issues mean the rotation must be keyed manually. This was an experimental feature that works if needed, but was not as useful as I had hoped.
- The body uses two separate spline IK curves:
- The body curve drives the torso, hips, and overall spine movement.
- The spine curve, driven by the body curve, controls the spine hose independently.
Water, Hats, and Facial Controls
- The water effect was created using a sphere for the visible model and a separately rigged cylinder that Booleans out any section that overlaps with the sphere. This way the water level can be changed dynamically, and waves or ripples can even be added.
- The hats for both the fish and the mech use shrinkwrapped bones parented to rotational controls, ensuring proper pivots that follow the mesh deformation.
- The fish’s eyelids and eyebrows are shrinkwrapped with offset adjustments:
- Leading edges and the center have a slight positive offset.
- Other areas have a negative offset to blend into the head seamlessly.
- Freestyle edges are marked to generate grease pencil lines for the leading edges.
- Facial controls include shapekeys for additional expressions, though the range is limited due to grease pencil’s line art generation at certain camera angles and minimal manual expression control.
Rendering and Performance
- Grease pencil is too performance-intensive for real-time animation previews. Animators may need to toggle it on and off in the outliner.
- A Rig UI option allows subdivision reductions for better performance.
- For rendering, Blender’s view layer system was used to render parts of the rig separately and overlay them in the compositor. For example:
- The fish is rendered in front of the water but behind the glass and mech parts.
- Unfortunately, the real-time compositor doesn’t support view layers, complicating animation previews and required the layers be rendered separately and then reassembled in the compositor for rendering.
Animator Feedback and Reflections
Special thanks to my friend Ben Hogue for animating the rig: www.x.com/einerjeti
Animator Suggestions
- The fish’s rig lacked a conventional FK tail/body and a full-body control separate from the rig root. Adding these would have improved usability.
- The fish’s face controls could have benefited from an option to completely hide the eyelids and a greater range of expressions.
My Reflections
- Adding FK controls and a separate body control to the fish is a relatively simple fix, but I didn’t implement it before the animation was completed. I’ll prioritize this for future rigs.
- I focused too much on replicating the reference’s expressions accurately, which limited the overall range. Having a combination of shape keys and standard deformation controls would have made it more flexible.
- Some of the features like the “Cast” modifier bubbles were not in the reference and while cool, took up a great deal of time that could have been dedicated to finishing the rest of the project more quickly.
- Some scripting to automate the more repetitive and error-prone processes of manual rigging would have helped greatly in efficiency.
Lessons Learned and Advice #rigTIP
For anyone attempting a similar project, here’s my advice:
- Outline your goals and timeline clearly: This will help you stay focused and limit unnecessary features.
- Seek feedback frequently: Input from others provides valuable insight and helps you refine your work.
- Know when to stop: It’s easy to get carried away, but learning your limits is essential for finishing projects efficiently and staying motivated to keep going. Finishing a project is more important than getting it exactly the way it is in your head!
I’m proud of what I achieved with Filibert the Fish and look forward to applying the lessons I’ve learned to future characters. Thank you for reading, and I hope this inspires you to tackle your own ambitious projects. Remember, perfect is the enemy of good! 😉
More of My Stuff
You can find more of my work by following these links:
Twitter: https://x.com/B0ilz
LinkedIn: https://www.linkedin.com/in/julien-bazin-632016134/
ArtStation: https://www.artstation.com/b0ilerplate

Special thanks to Brad Clark @Rigging Dojo for the rigging advice and troubleshooting and Blender help during this project.